
Brief Introduction to Win 8 Protection 2014
Win 8 Protection 2014 is categorized as
rogue antivirus program which makes money by reporting fake scan results to its
users. It masquerades itself as a legitimate and useful antivirus program and
looks no different from other famous legitimate antivirus programs. However, in
fact it is illegitimate and will cause many troubles.
As soon as it makes its installation in
your computer, it is able to detect all the files, data, programs and even
loopholes in your computer. It won’t give you the right detected reports but
will ask you to purchase its registered version to fix the problems. If you pay
the money and remove those detected threats, you may delete some important
system files or program files. Thus your computer will be messed up, and some
programs cannot operate properly. Furthermore, this rogueware will make full
use of those loophole in your computer to download more malware, spyware,
ransomware, Trojan horses, worms and other viruses to your computer so that you
will pay much more money to it for saving your computer. Besides, its running
process will take up the system resources. Thus your computer will result in
poor performance such as slow computer operating speed, frequently getting the
blue or black screen of death, and even suddenly crashing down.
In summary, this Win 8 Protection 2014 is
such a malicious rogue antivirus program that needs to be uninstalled as soon
as possible.
Efficient Removal for Win 8 Protection 2014
a. Manual Removal Support:
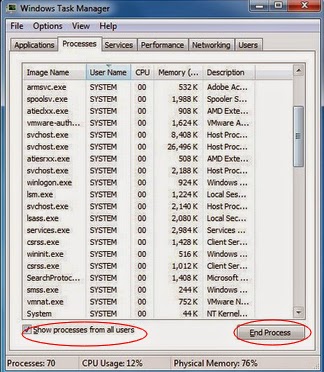
Press CTRL+ALT+DEL or CTRL+SHIFT+ESC or press the Start button, type "Run" to select the option, then type "taskmgr" and press OK > stop Win 8 Protection 2014 running process.
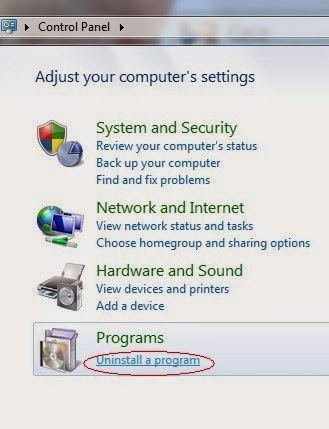
Click Start > Control Panel > Uninstall a program > find Win 8 Protection 2014 > right click on it > Uninstall.
%UserProfile%\Programs\AppData\[Win 8 Protection 2014].exe
%UserProfile%\Programs\Temp\[Win 8 Protection 2014].dll
%UserProfile%\Programs\AppData\roaming\[Win 8 Protection 2014].dll
Step 4: Delete associated registry entries:
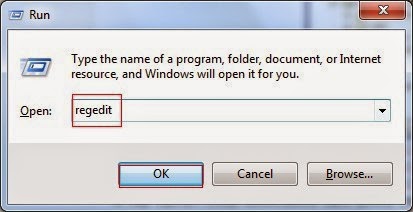
Hit Win+R keys and then type "regedit" in Run box and click on OK to open Registry Editor.
When the Registry Editor shows, find out and delete the below files.
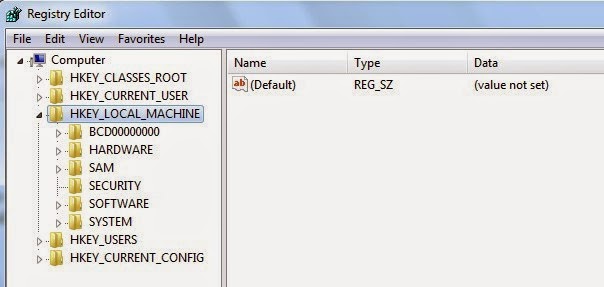
HKEY_LOCAL_MACHINE\Software\Microsoft\Windows\CurrentVersion\Run""= "%AppData%\.exe"
HKEY_CURRENT_USER\Software\Microsoft\Windows\CurrentVersion\Policies\Associations "LowRiskFileTypes"="Win 8 Protection 2014"
Note: When you apply this manual removal guide, any mistakes would delete the important system file. Therefore, you need to backup the system files before using this method and be extremely careful in each step.

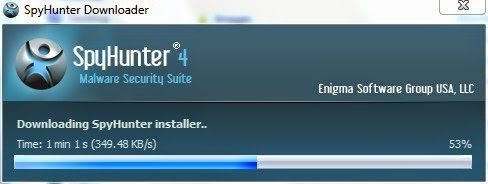
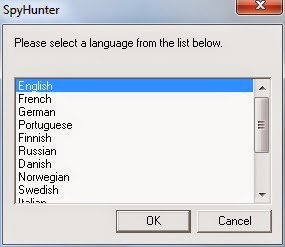
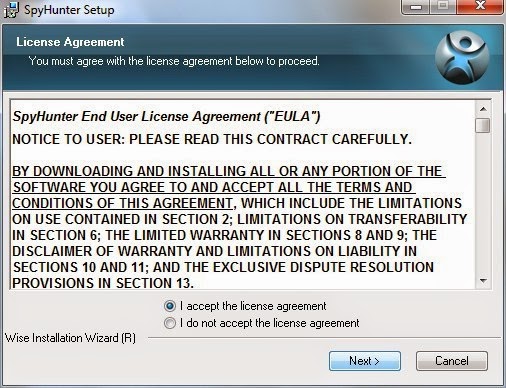
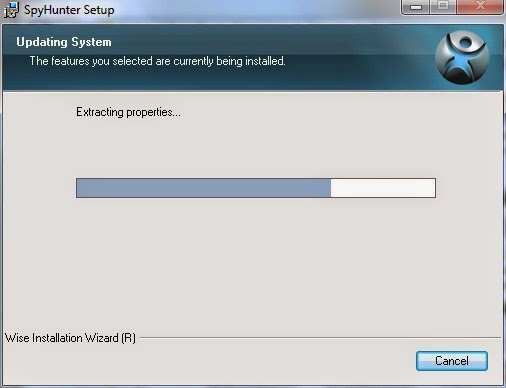
Step 1: Install SpyHunter.
1) Download SpyHunter here, then double click on it to install SpyHunter.
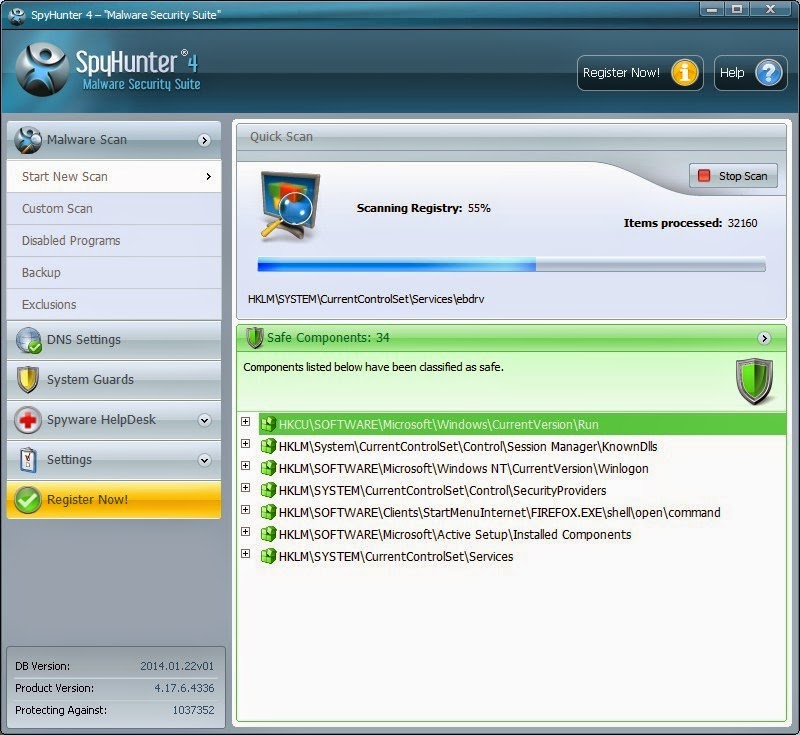
Step 2: Remove Win 8 Protection 2014 with SpyHunter.
1) Open SpyHunter and click Scan Computer Now! button to start a scan on your computer.
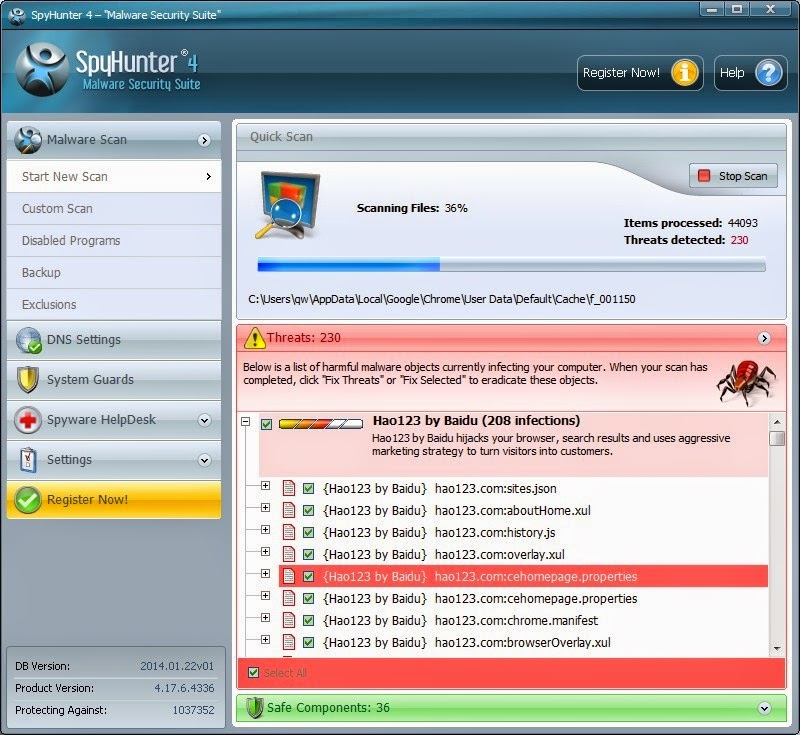
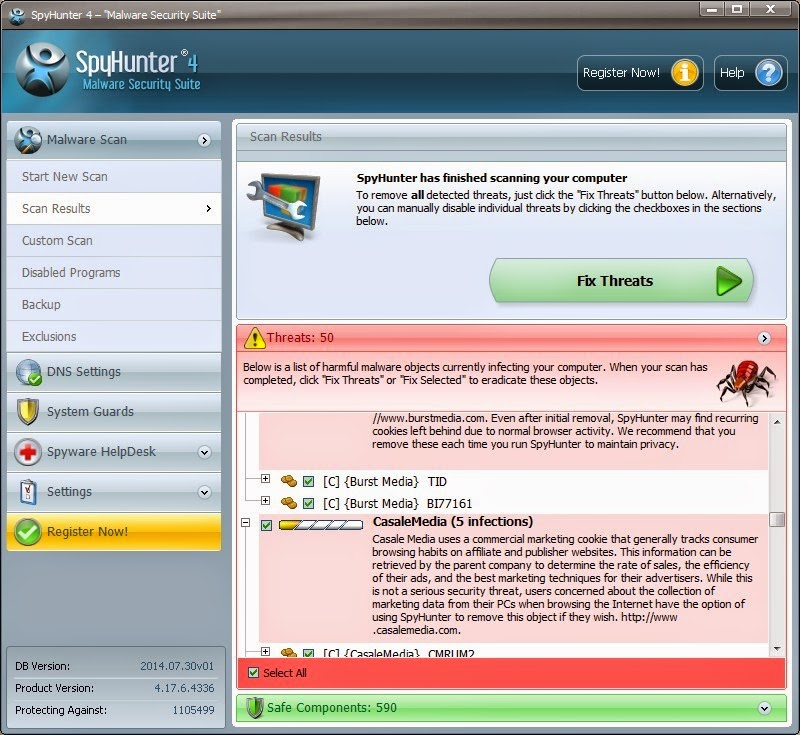
Note: It is recommended to apply the later solution to uninstall Win 8 Protection 2014 with SpyHunter. The scan will detect and remove this rogueware from your computer so that it no longer starts when you login to Windows.
No comments:
Post a Comment